BUCS Remote Agent Installation
This article will show you how to install the BUCS Remote Agent which will allow BUCS to access and continually refresh on-premises data sources needed for reporting in the BUCS platform.
Recommended System Requirements
- 16 GB of RAM
- 4 CPUs
How to install the BUCS Remote Agent
Prior to installation, make sure your BUCS user has the Connection Manager role enabled so you can generate the Authorization Key needed to setup the remote agent.


1. Download the BUCS Remote Agent
Click the download link the BUCS team provided to download the Remote Agent on the machine where it will be installed
OR
Click here to access the BUCS agent download link. Use the 64-bit Installer unless BUCS has specified you need the 32-bit Installer.
2. Initiate the install
Double click the installer to initiate the installation process.

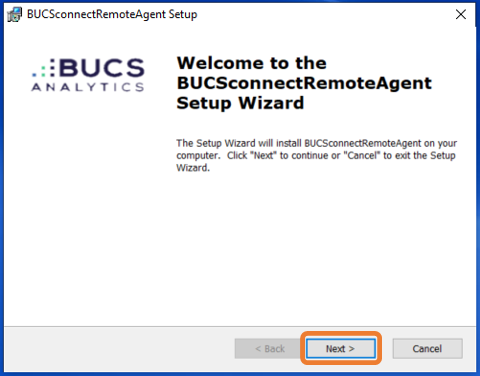
3. Proceed within the setup wizard
Click Next to proceed in the setup wizard.
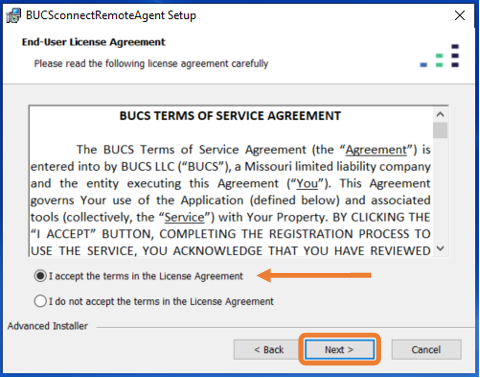
4. Accept terms of service
Read the BUCS Terms of Service. Select Accept then click Next.
5. Install the Agent
Click Install button to start the install process.

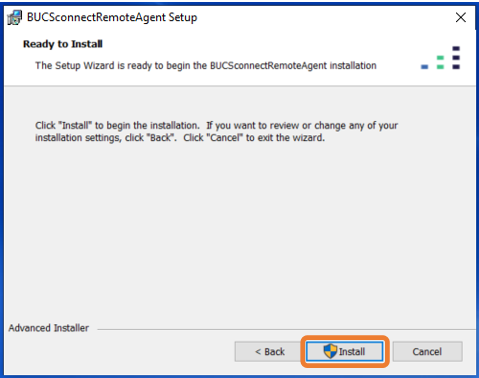
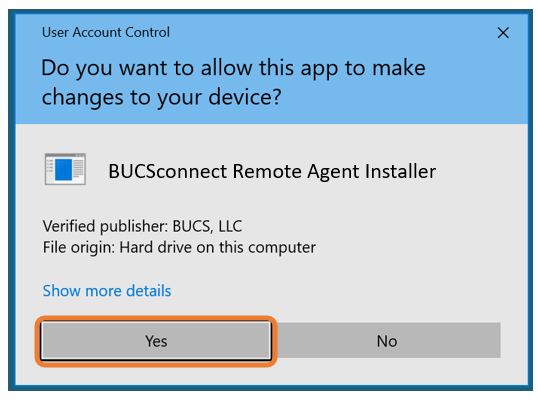
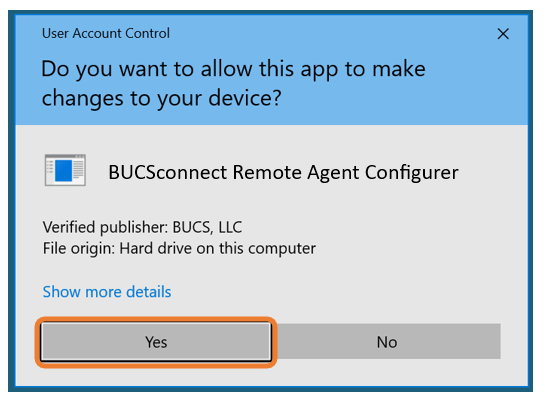
Windows may ask if you are sure you want to allow the BUCS agent to make changes. Click Yes to give permission to install the program.
6. Obtain authorization information
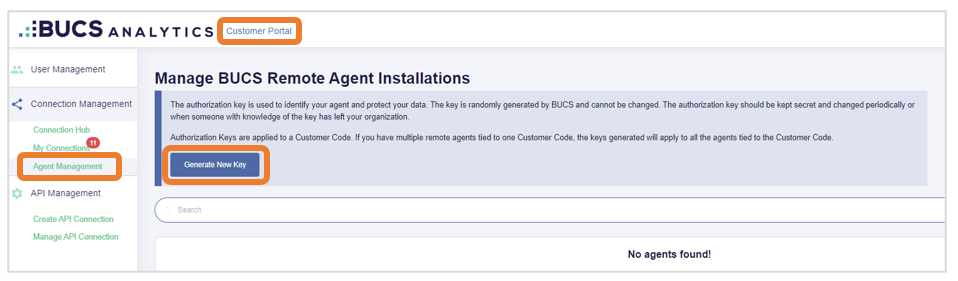
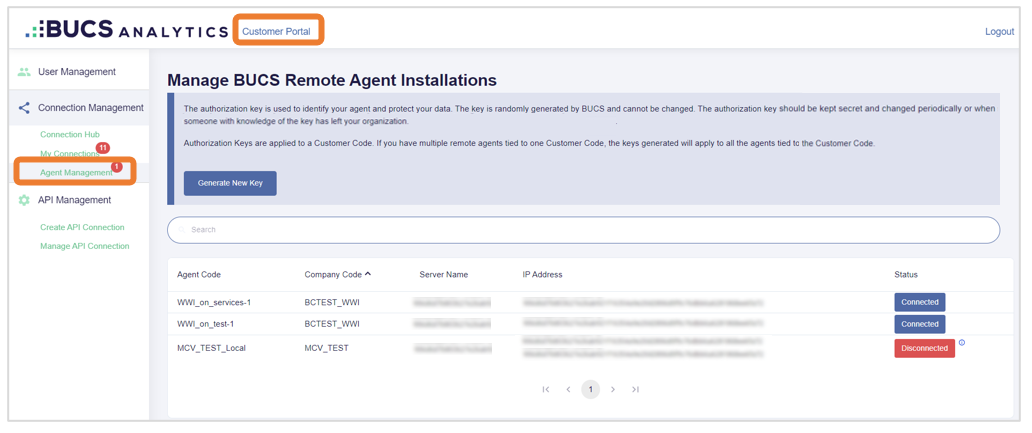
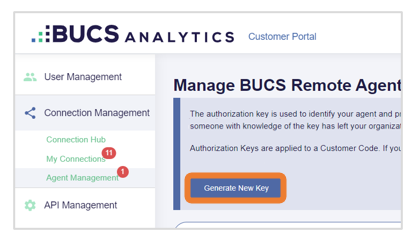
Navigate to Customer Portal > Agent Management and click Generate New Key.
![]() You must have the Connection Manager role enabled on your BUCS user in order to access the Agent Management menu.
You must have the Connection Manager role enabled on your BUCS user in order to access the Agent Management menu.
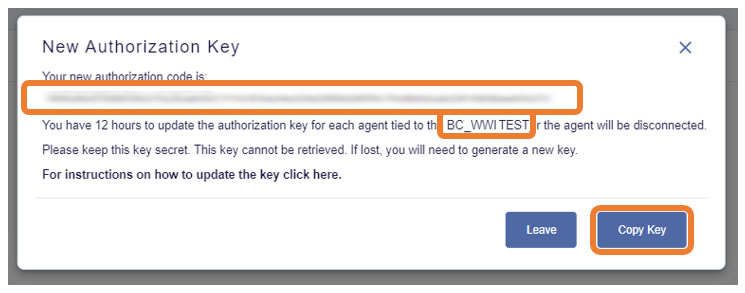
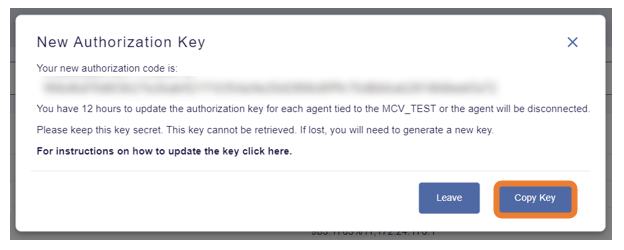
Follow the prompts and copy the Authorization Key and Customer Code which you will enter in the Remote Agent Configurer App in the next step.
![]() The Customer Code will always be formatted as "BC_" followed by a string of capitalized letters.
The Customer Code will always be formatted as "BC_" followed by a string of capitalized letters.
7. Provide authorization information
Windows may ask if you are sure you want to allow the BUCS agent to make changes. Click Yes to allow the application to run.
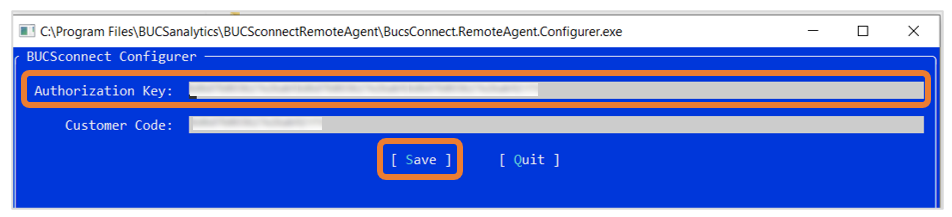
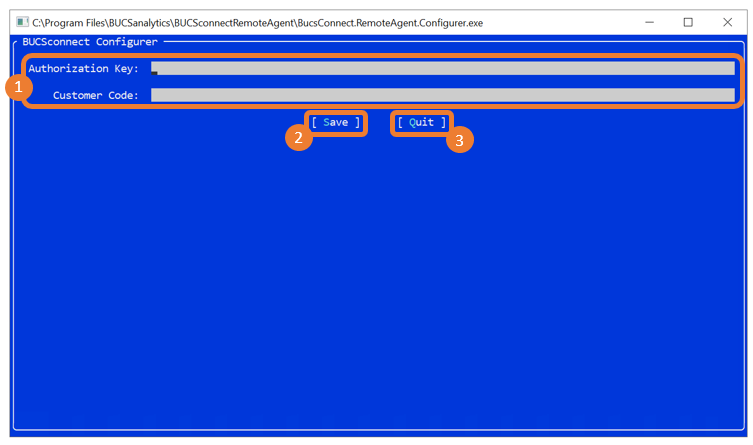
Enter the Authorization Key and Customer Code in the Configurer App window that appears. You can right click or ctrl+V to paste the values in the appropriate fields. Click Save then Quit.
8. Finish install
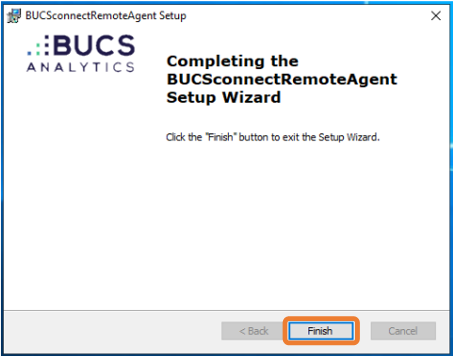
Click Finish in the setup wizard.
Notify the BUCS team to let them know the BUCS Remote Agent installation is complete.
9. Updating Authorization Keys
To enhance security, authorization keys should be updated periodically or when someone with knowledge of the key leaves your organization.
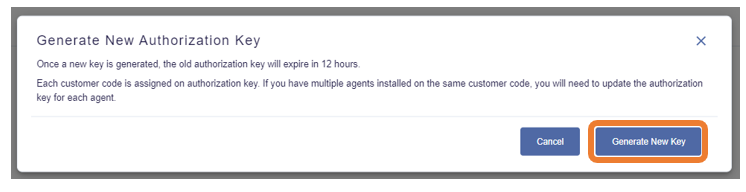
![]() Once a new key is generated, the old authorization key will expire in 12 hours.
Once a new key is generated, the old authorization key will expire in 12 hours.
1. To update your authorization key after the remote agent is installed, go to Customer Portal > Agent Management.
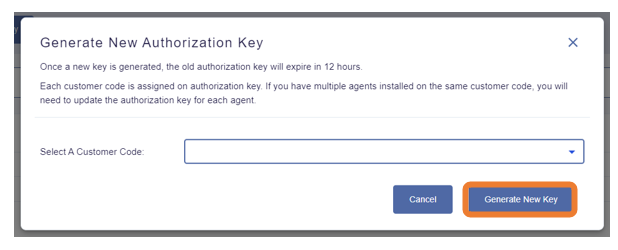
2. Click Generate Key.
3. Follow the prompts to Generate New Key and Copy Key.
![]() If you have access to more than one company, you will need to select which company you want to update keys for.
If you have access to more than one company, you will need to select which company you want to update keys for.
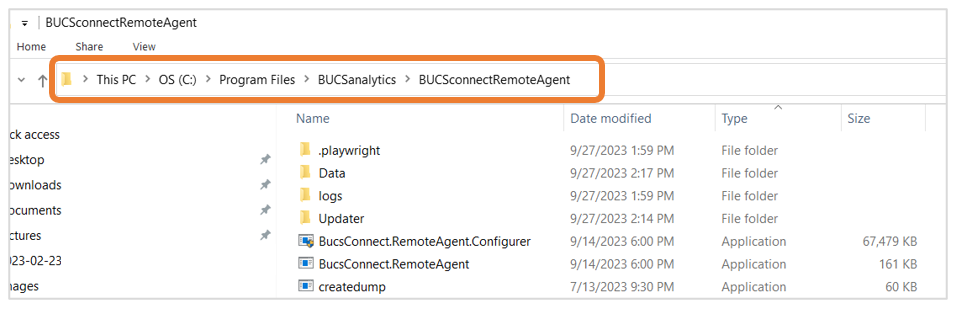
4. Open the File Explorer on the device where the BUCS remote agent is installed. Locate the remote agent at C:\Program Files\BUCSanalytics\BUCSconnectRemoteAgent\BucsConnect.RemoteAgent.Configurer.exe and click to run.
5. Paste the new authorization key you generated into the Authorization Key field. Click Save.